
This time of year always brings many people to me asking me about hatching eggs. Parents who want to give their child the experience of watching those cute little chicks popping out of the eggs, teachers who want to incubate in their classrooms so the kids can experience the whole "egg to chicken" life cycle, and many others, who just want to have some fun. So today I will dive lightly into the process of hatching chicken eggs and how to do it from start to finish!
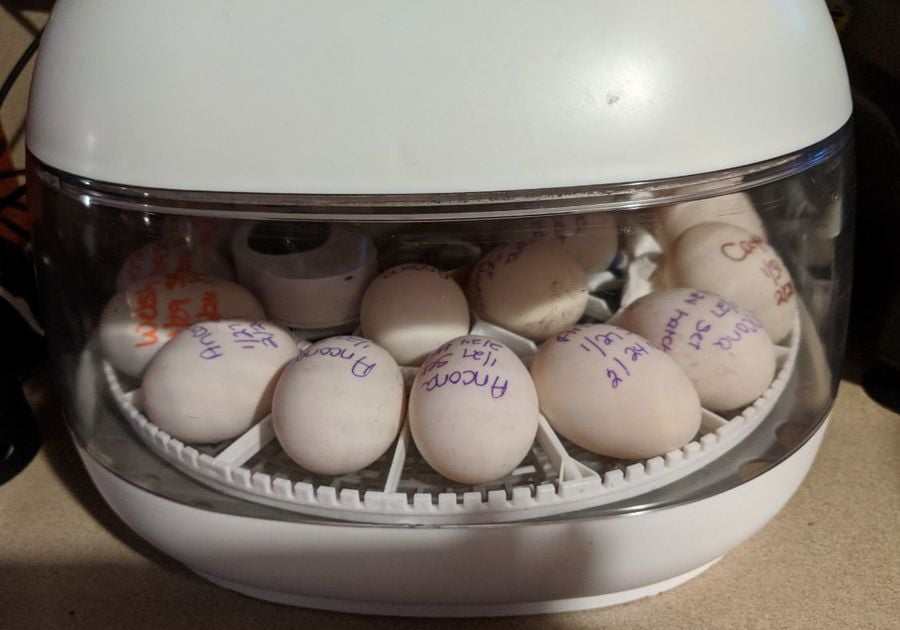
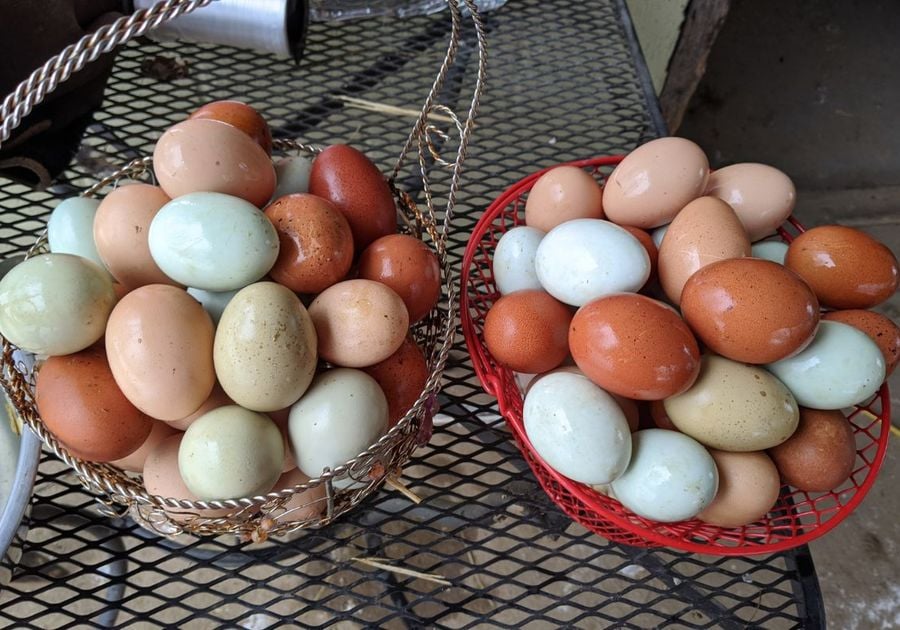
The first thing you want to do is get a reliable incubator, and these can be bought in many places, such as Feed Mill stores, Tractor supply stores, online, (Amazon, eBay), and you can even find used ones on Marketplace. Then you want to find fertile eggs to hatch. That means there must be a rooster with the hens in the pen. Buying a dozen eggs from the grocery store will not work for you. These rarely have roosters kept with them and they will not hatch. You can get hatching eggs from local farms, eBay, Facebook hatching groups, or if you know someone who raises chickens. You want to store the eggs pointy side down at room temperature for no more than a week or so before incubating. Once you have an incubator and set it up in a safe place in your home, you will turn it on for several hours before putting in the eggs. You want to make sure the temperature is stable, at 99.5 to 100.5 degrees. Then you add the eggs. I put the date on mine that I added them, and the date that they should hatch, 21 days later. You want to either put the eggs in the incubator pointy side down or on their sides, depending on your incubator.
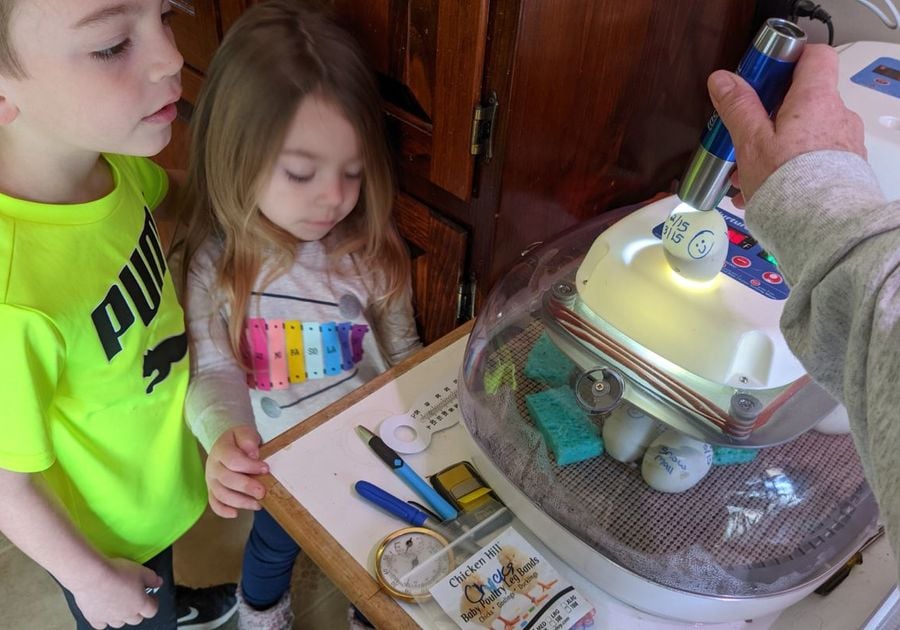
You won't see much going on the first week. After a week, you can start to "candle the eggs" to see if anything is developing. Candling is looking into the eggs with a bright light, in a dark room. A bright flashlight will work, but they also sell special candlers for this task. At this point, after one week, you would see a dot with spider web-like veins inside the egg if it is developing. If it's not, then you won't see anything at all, it will be pretty much clear. I usually check again on day 10 or 12 and if it's still clear, I throw them away. By 2 weeks, the developing embryo will turn very dark inside, and you will just see a light spot on one end. If you look at my photos, the one with me candling the eggs shows one that is dark inside. That egg is about 2 weeks into development. That light spot is the air sac. When the chick first starts to hatch, it will poke its beak into that "air sac" and be able to breathe, until it breaks the shell open. Another thing you will notice on your incubator is that there is a small place where you can add water to regulate the humidity inside the incubator. There are many different theories on humidity, and everyone has their opinion of humidity that works for them. Some people keep the humidity only at 25-30% up until the last few days then increase it to 50% and others keep it at 40-50% throughout, until hatching, and then bump it up to 60-70%. This will be something that you have to try and see what works for you. The more water you add, the higher the humidity will be. If your home is really dry, you may need to add more water, especially at the end, when the chick is hatching, because they do need higher humidity when hatching.
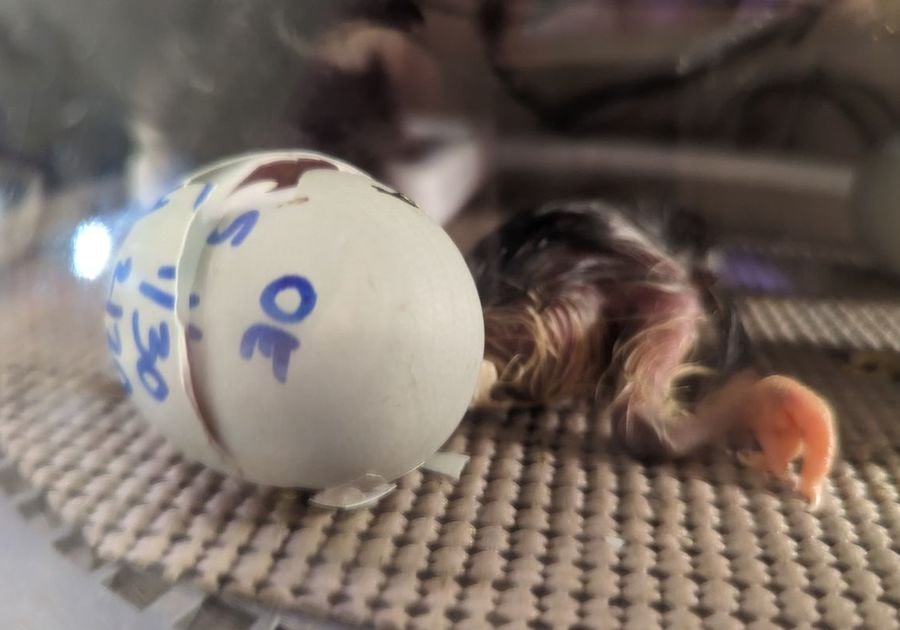
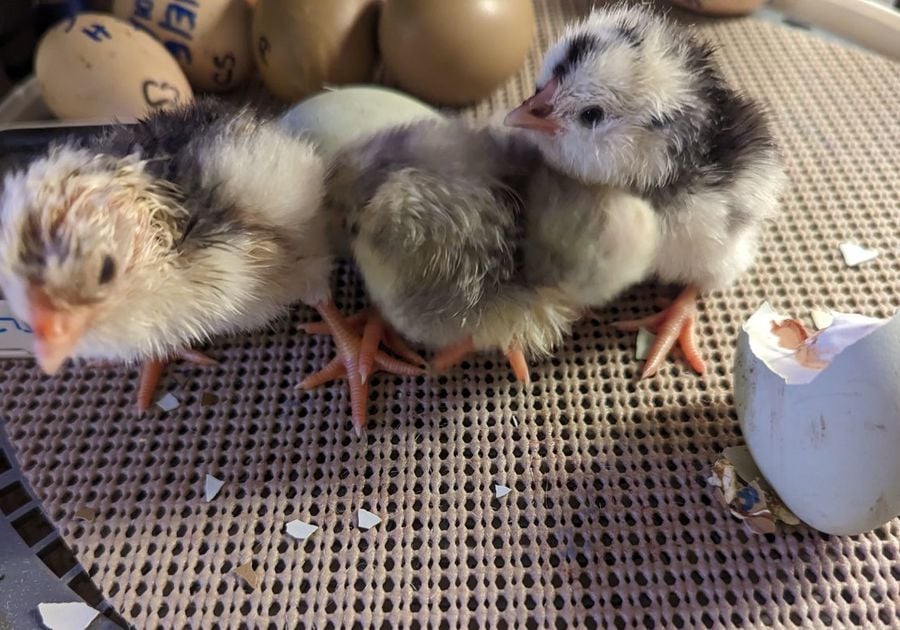
So there isn't much you need to do after candling and disposing of the eggs that are not developing. You just keep the temp and humidity stable, and wait for the chicks to hatch! Around days 18-19, I usually bump up the humidity to keep it above 55%, and on days 20-21 the chicks should poke through the shell and start "zipping" around the shell in a circle to break the eggshell open and get out. They will be all wet at first, and you need to leave them in the incubator to fully dry off and fluff up before removing them. When mine hatch in the morning, I let them in until evening before taking them out. If they hatch in the evening, I let them in overnight and only remove them in the morning. They can stay in there for 2-3 days if need be, because the last thing they do before hatching, is absorb the yolk of the egg, and this nourishes them for 48-72 hours. After you remove them, you need to keep them in a warm place with either a heat lamp or heat plate (I use the heat plates, as they are safer) and keep them warm. They need to be at 100 degrees after they are first hatched. And they need heat and warmth until they are fully feathered which is several weeks.
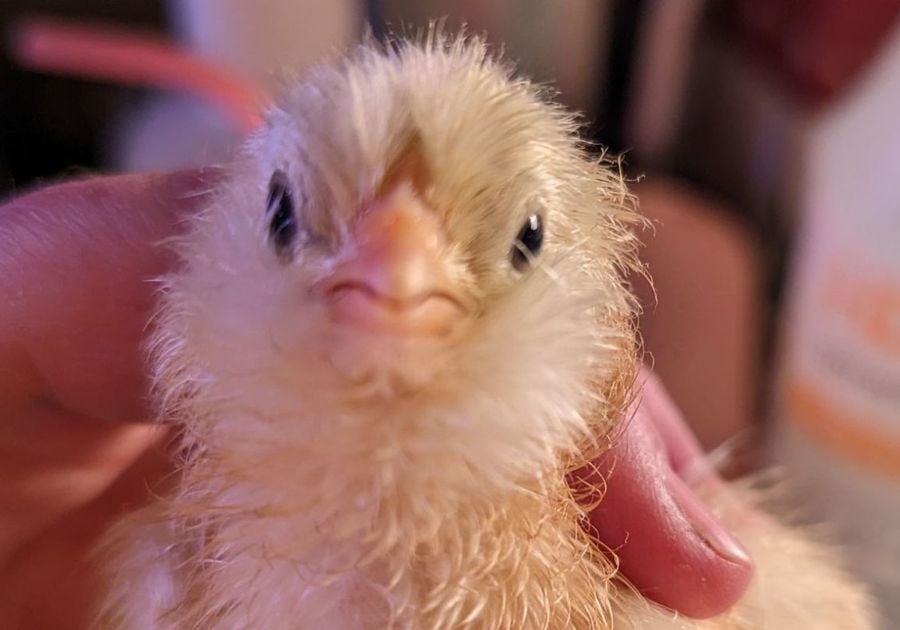
I hope this article helped anyone looking to hatch eggs for the first time! Good luck with your ventures! It is truly an amazing thing to watch, and children absolutely love seeing the chicks break out of the eggs when they hatch. Please enjoy the photos I took of my own experience, and my grandkids Noah and Bella watching when I candled, and also collecting the eggs when they were a little younger.